Create a custom SharePoint 2013 Geolocation field using Nokia HERE maps
NOTE: The HERE Maps API for JavaScript 2.x used in the post below will be phased out by September 30, 2015. For more information about the 3.x version, please visit https://developer.here.com/javascript-apis.
Much has been written about the new Geolocation capabilities of SharePoint 2013. If you haven’t already, I would highly recommend reading this overview on MSDN. In short, SharePoint 2013 offers a new field type called Geolocation, which represents point location data (latitude and longitude) that can be automatically plotted on a Bing map.
But what if you want to leverage a different mapping provider, such as Nokia HERE? Fortunately, SharePoint offers the ability to define custom field types based on an existing field type (in this case, SPGeolocationField). Using SharePoint 2013’s new client-side rendering framework, it is possible to define custom rendering logic for your custom field type using JavaScript.
Microsoft provides sample code that allows you to create a Geolocation field that renders using Nokia maps. The custom field type uses JavaScript to render a text box with a search button that performs a geocoding request on the inputted text string using the Nokia Places API. Once a coordinate location has been returned, a HERE map is rendered with a placemark centered on the inputted location. Unfortunately, the sample code has not been updated since February 2013 and a few changes need to be made in order to make use of Nokia’s new HERE mapping platform. If you would like to make use of this sample code, hopefully this post will help you!
Step 1 – Register a HERE developer account
In order to use HERE maps in your application, you need to first sign up for an account on the HERE developer portal. Once you have registered, go to Create app. Specify the following:
Application platform: Web
Solution: Web Experiences
License type: Platform Evaluation Key
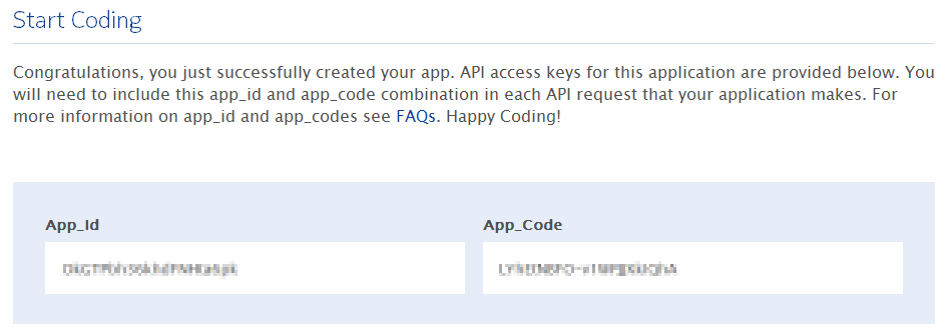
Press Proceed to application details. Specify details about your application, including the Application website URL (the domain name where SharePoint is running). After you provide your contact information and accept the license agreement, you will see a confirmation screen with your App_Id and App_Code values:
Step 2 – Update the sample project
When I first opened the sample project, I was prompted to upgrade it to a SharePoint 2013 solution. After upgrading the project, I had to manually add NokiaMapsControl.js and fldtypes_NokiaMapsControl.xml back to the project (NOTE: These files should be placed directly under the mapped {SharePointRoot}\TEMPLATE\LAYOUTS and {SharePointRoot}\TEMPLATE\XML directories and NOT in subfolders.) The project should now look like this:
Step 3 – Update NokiaMapsControl.js
Make the following changes/updates to NokiaMapsControl.js:
1. In line 1, update the g_appId variable with the App_Id value from your application from the HERE developer portal.
2. In line 2, update the g_authToken variable with the App_Code value from your application from the HERE developer portal.
3. Replace line 138 with the following two lines, which load the new HERE Places API and JavaScript API:
downloadJS('http://js.api.here.com/se/2.5.3/jsPlacesAPI.js');
downloadJS('http://js.api.here.com/se/2.5.3/jsl.js');
4. Update lines 240-241 with the following (the HERE API parameter names have changed from appId and authenticationToken to app_id and app_code, respectively):
nokia.Settings.set("app_id", g_appId);
nokia.Settings.set("app_code", g_authToken);
Step 4 – Build and deploy the project, then add the new field to a list
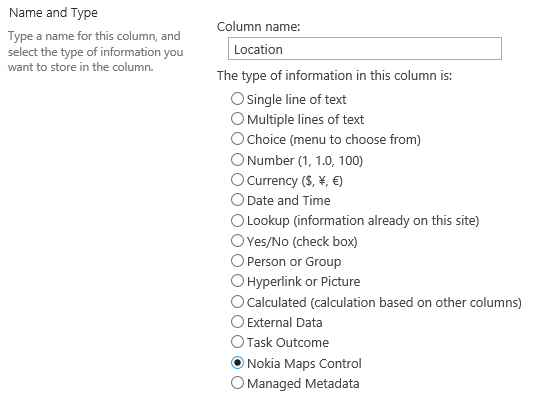
After deploying the project, add a new column based on the custom field type to a list:
Step 5 – Add a new item to the list
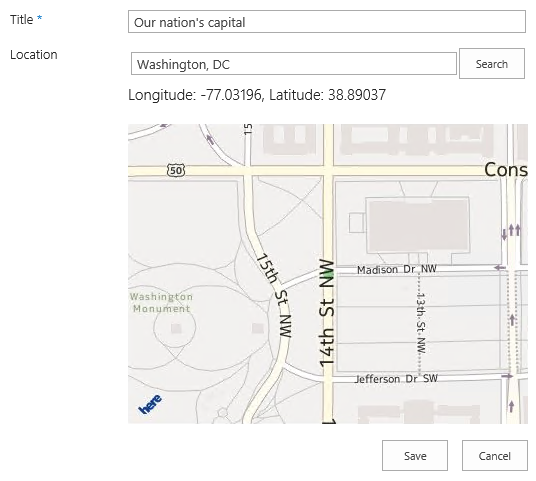
The Nokia Maps Control field renders as a text box with a search button. Enter a location in the text box and press the Search button:
The HERE geocoder service will return a coordinate location for the inputted string, plotted on a HERE map:
Congratulations! You are now ready to use your custom geolocation field with Nokia HERE maps.
You can download a version of the project with all the necessary changes here. Just update lines 1 and 2 of NokiaMapsControl.js with your App_Id and App_Code values and you’ll be good to go!


